#HamRadio Live! Show 482. BuddiHex By BuddiPole Part 1 Assembly And Live RX vs. A Vertical Antenna. Ham Radio Live! 1:23:18 Streamed 2 years ago 1 108 Далее Скачать
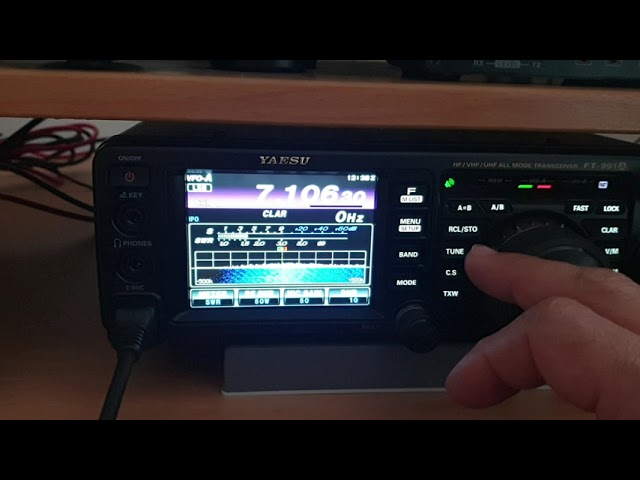
3 Antennas Compared On-Air: Hexbeam, Butternut Vertical, Offset-Fed Dipole Dave Does Computers & Radio Stuff! 3:07 2 years ago 9 767 Далее Скачать
Building the BuddiHex Hexbeam | Best Portable Ham Radio Antenna Ham Radio 2.0 24:29 3 years ago 41 107 Далее Скачать
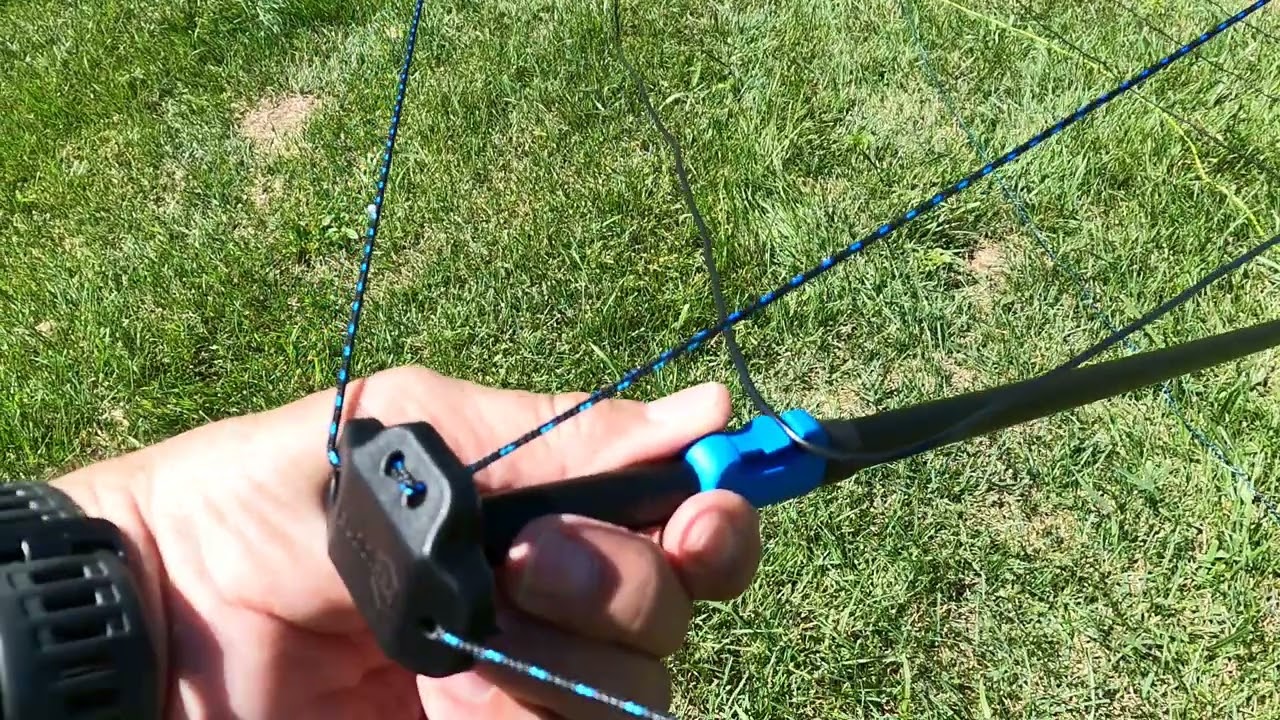
Skeeter Hunt: My First Use of the Buddipole Buddihex Hex Beam Greg Lane 4:19 2 years ago 1 030 Далее Скачать
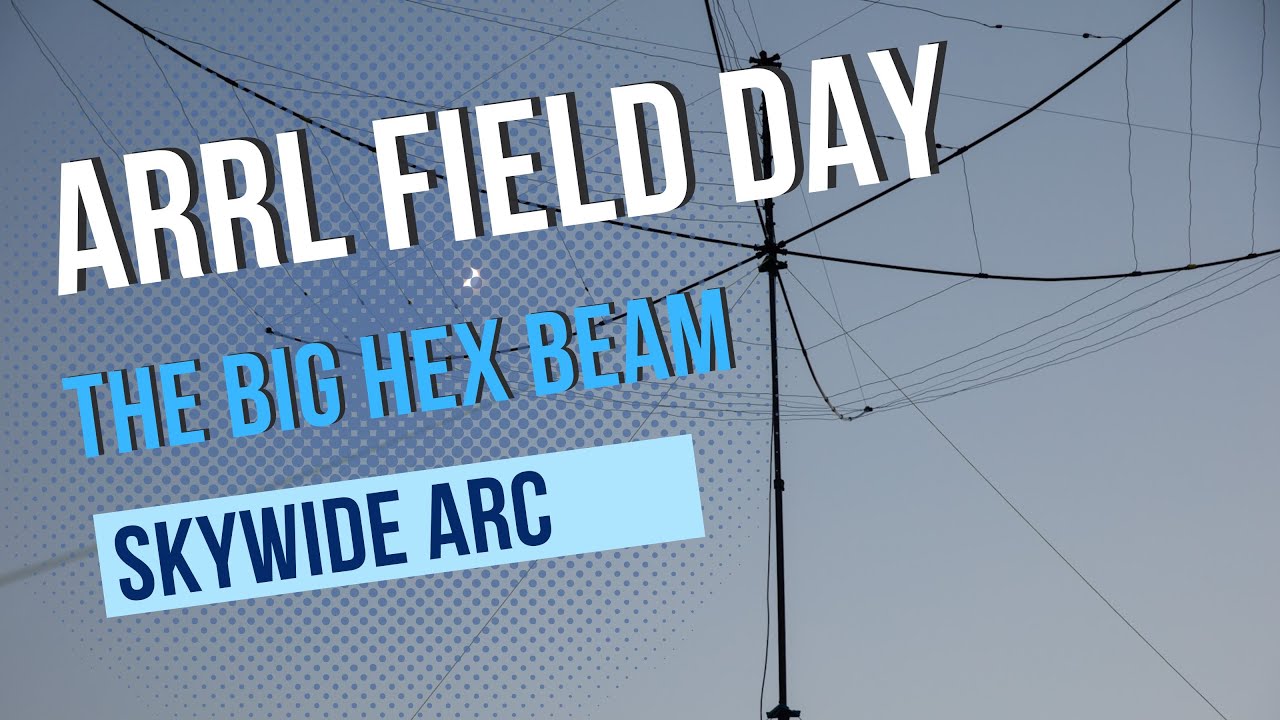
Johns Buddi Hex Beam Field Day 2023 Skywide Amateur Radio Club - VE3SKY & VE3SKI 3:08 1 year ago 377 Далее Скачать